Sensory Toy Balls- Waves, Crossed, Textured, Circles
These sensory toy balls are a perfect gift for a baby or child. They work up really quickly and can be made using tiny scraps of yarn. They contain a filler pouch rather than regular stuffing for extra safety for the child, and feature a crossed version, a circle version, a wavy version, a textured version and many more in the previous post. The whole set would make a great quick and easy last minute present for an expectant mother or toddler.
For all of the sensory balls in the series, you will need these items
Filler pouch (instructions for how to make
here)
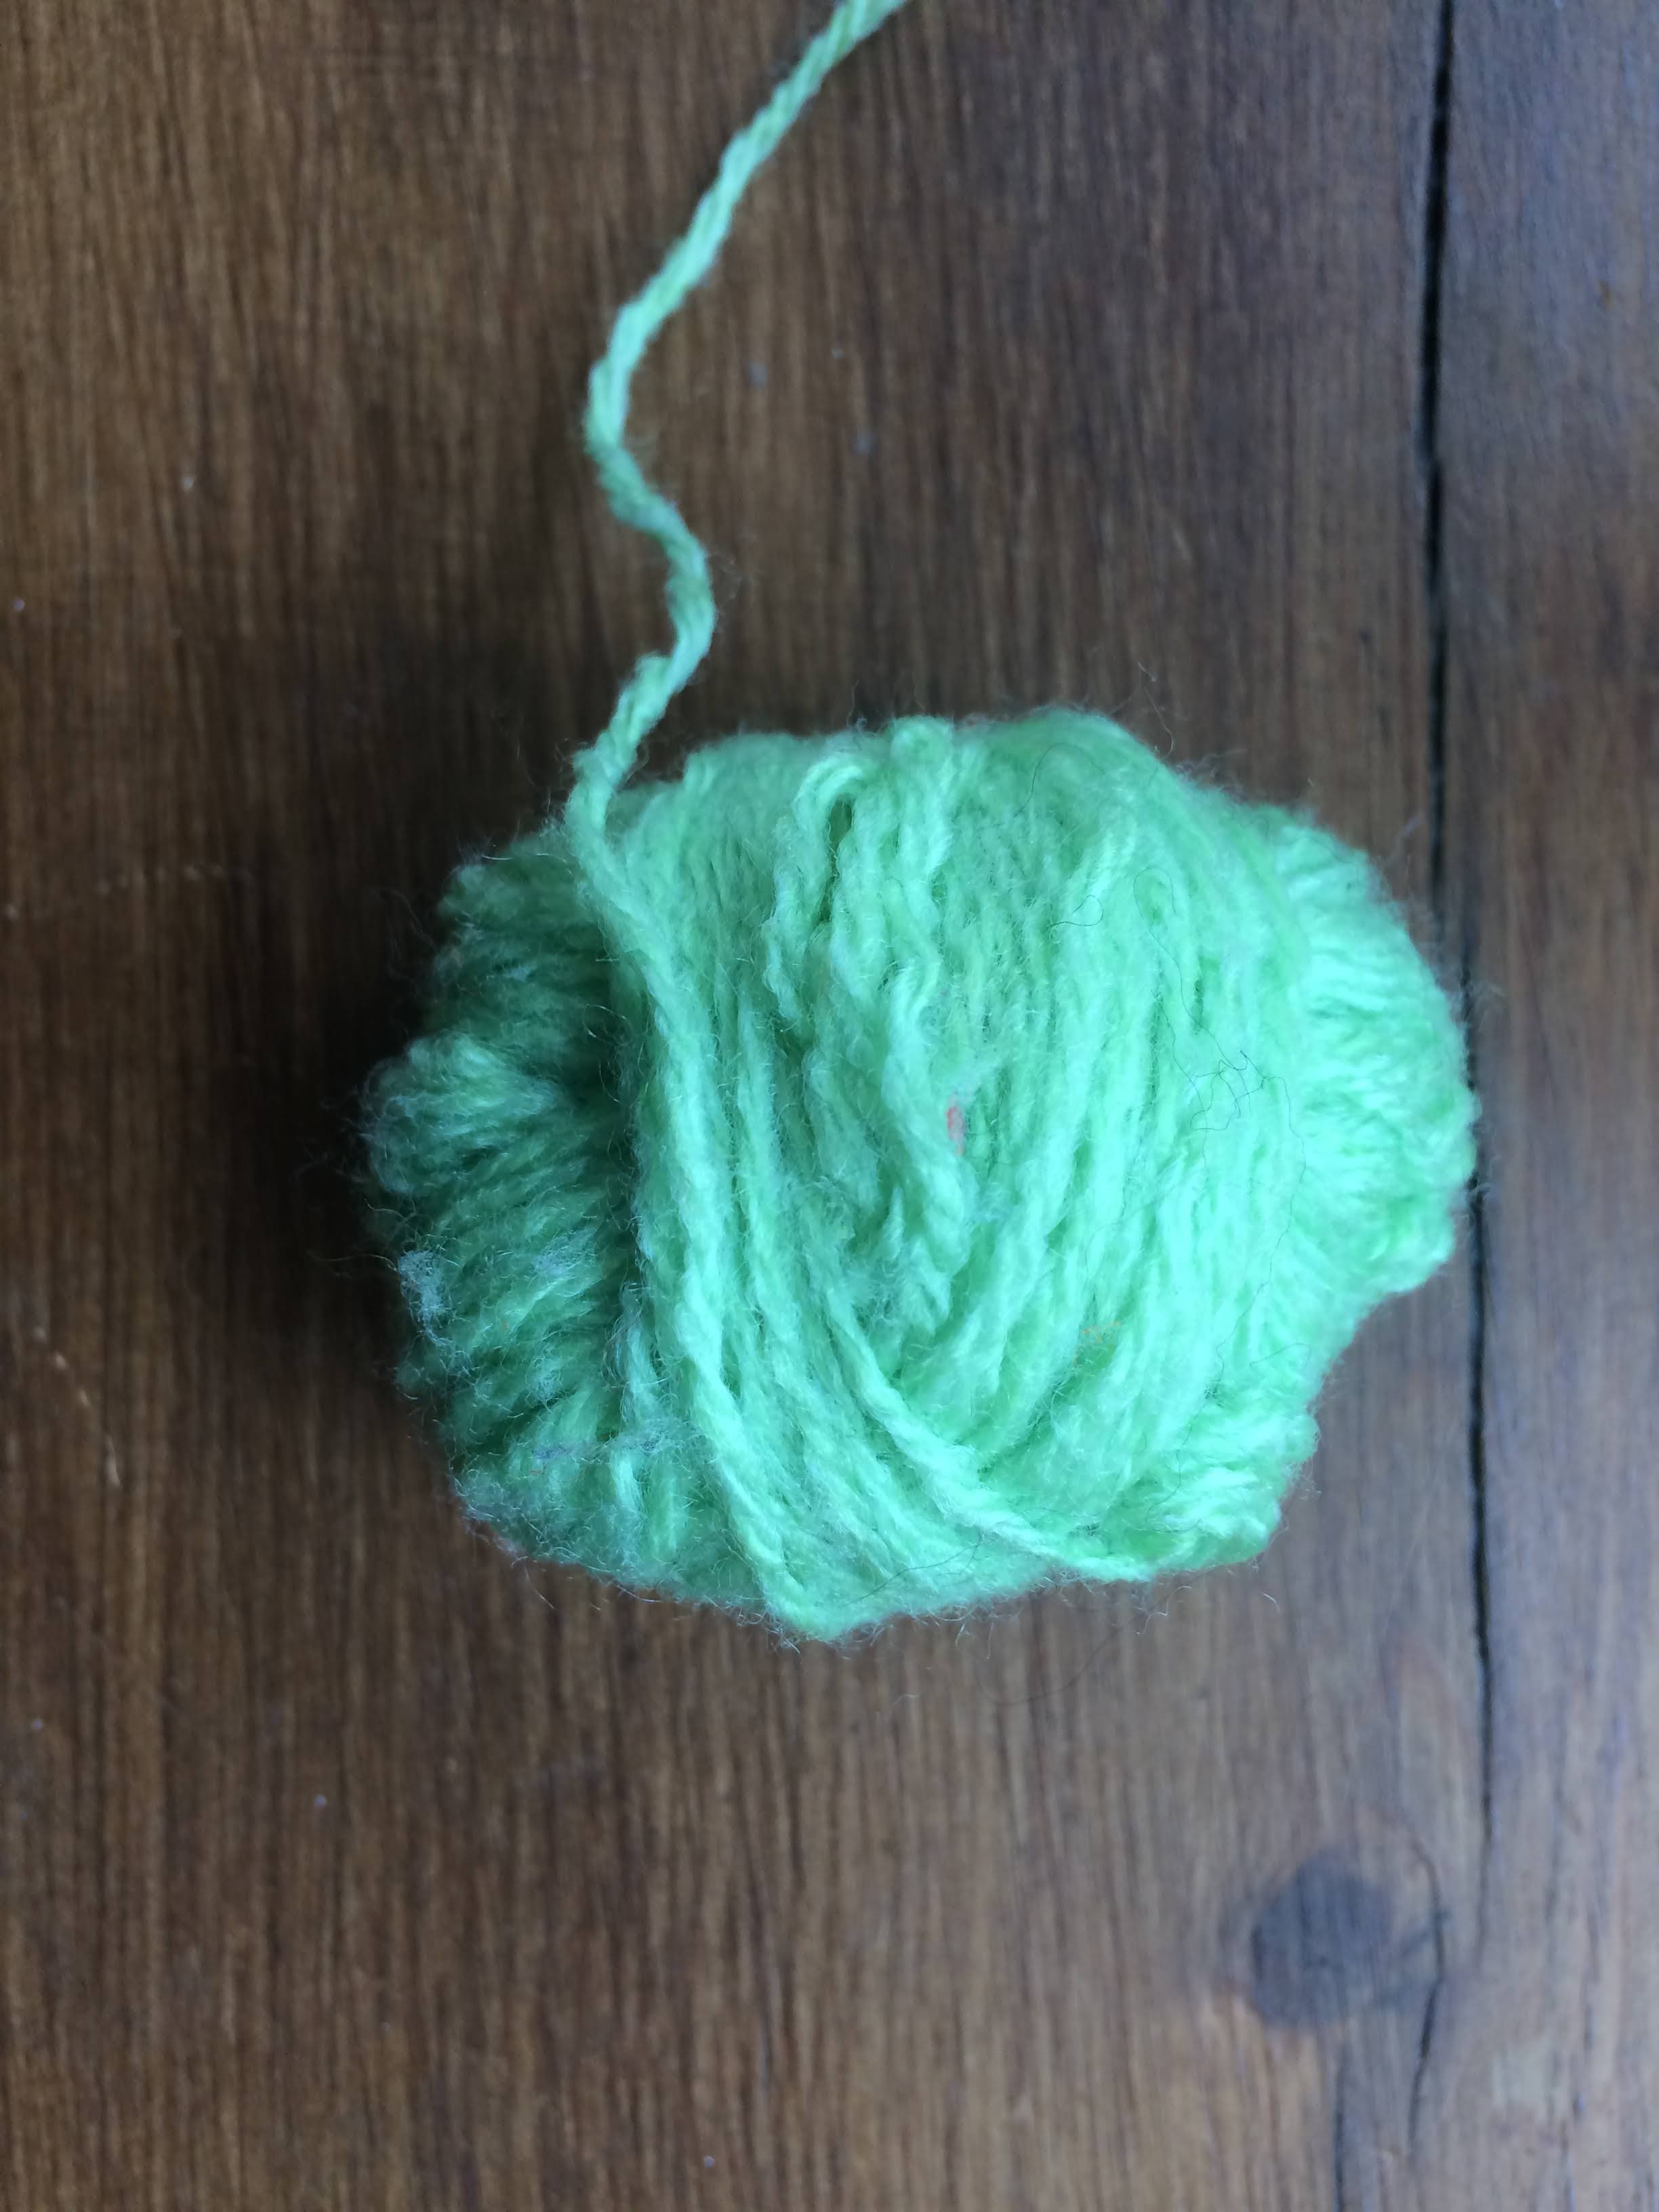
Double knitting yarn in colour(s) of your choice
4mm crochet hook
Yarn needle to weave in ends
Waves Toy Sensory Ball (medium blue)
Chain 2
R1) 8 half double crochet in 2nd chain from hook, slip stitch to first stitch.
R2) Chain 1, 2 half double crochet in each stitch, slip stitch to first stitch.
R3) Chain 1, *2 half double crochet in stitch, 1 half double crochet in next stitch, repeat from * around, slip stitch to first stitch.
R4-6) Chain 1, half double crochet in each stitch, slip stitch to first stitch
R7) Chain 1, "skip stitch, 5 half double crochet in post of stitch below, slip stitch to next stitch, chain 1," repeat from " to " around.
Insert filler pouch here
R8) Chain 1, *half double crochet two together in next 2 stitches, half double crochet in next stitch, repeat from * around, slip stitch to first stitch.
R9) Chain 1, half double crochet 2 together around, slip stitch to first stitch
R10) Chain 1, half double crochet 2 together around, slip stitch to first stitch.
Fasten off and sew top and bottom of ball closed, then weave in ends.
Crossed Toy Sensory Ball (bright green)
Chain 2 with colour A
R1) 8 half double crochet in 2nd chain from hook, slip stitch to first stitch.
R2) Chain 1, 2 half double crochet in each stitch, slip stitch to first stitch. Change to colour B.
R3) Chain 1, *2 half double crochet in stitch, 1 half double crochet in next stitch, repeat from * around, slip stitch to first stitch.
R4-5) Chain 2, double crochet in each stitch, slip stitch to first stitch.
Insert filler pouch here
Do the round 5 crosses now-
Round 5 Crosses- Chain 4, slip stitch to base of 4th stitch of round 5, *chain 4 again and slip stitch to top of 3rd stitch from the current stitch, chain 4, slip stitch to base of stitch 4 stitches away* repeat from * to * until the end.
R6) Chain 1, *half double crochet two together in next 2 stitches, half double crochet in next stitch, repeat from * around, slip stitch to first stitch. Change to colour D.
R7) Chain 1, half double crochet 2 together around, slip stitch to first stitch
R8) Chain 1, half double crochet 2 together around, slip stitch to first stitch.
Round 4 crosses- fasten on yarn at beginning of round 4. Chain 4, slip stitch to top of 4th stitch of round 4 (this should be the same stitch as the first chain of the round 5 crosses) ,*chain 4 again and slip stitch to base of 3rd stitch from the current stitch, chain 4, slip stitch to top of stitch 4 stitches away*. Repeat from * to *, the slip stitches should line up from round 5 crosses and round 4 so they form crosses.
Fasten off and sew top and bottom of ball closed, then weave in ends.
Textured Toy Sensory Ball (red)
Chain 2
R1) 8 half double crochet in 2nd chain from hook, slip stitch to first stitch.
R2) Chain 1, 2 half double crochet in each stitch, slip stitch to first stitch.
R3) Chain 1, *2 half double crochet in stitch, 1 half double crochet in next stitch, repeat from * around, slip stitch to first stitch.
R4-6) Chain 1, half double crochet in each stitch, slip stitch to first stitch
Insert filler pouch here
Texture) *Chain 5, slip stitch to post of stitch from round 3 directly below current stitch, chain 5, slip stitch to stitch from round 6 1 stitch away from previous stitch* repeat from * to *
R7) (Work in round 6, not the chains) Chain 1, *half double crochet two together in next 2 stitches, half double crochet in next stitch, repeat from * around, slip stitch to first stitch.
R8) Chain 1, half double crochet 2 together around, slip stitch to first stitch
R9) Chain 1, half double crochet 2 together around, slip stitch to first stitch.
Fasten off and sew top and bottom of ball closed, then weave in ends.
Circles Toy Sensory Ball (gold)
Circle- make 10 half double crochet into post of stitch,
Chain 2
R1) 8 half double crochet in 2nd chain from hook, slip stitch to first stitch.
R2) Chain 1, 2 half double crochet in each stitch, slip stitch to first stitch.
R3) Chain 1, *2 half double crochet in stitch, 1 half double crochet in next stitch, repeat from * around, slip stitch to first stitch.
R4) Chain 2, double crochet in each stitch, slip stitch to first stitch.
R5) Chain 2, "circle, double crochet in 3 stitches," repeat from " to ", then *circle, double crochet in final 2 stitches* in last 3 stitches, slip stitch to first stitch.
Insert filler pouch here
R7) Chain 1, *half double crochet two together in next 2 stitches, half double crochet in next stitch, repeat from * around, slip stitch to first stitch.
R8) Chain 1, half double crochet 2 together around, slip stitch to first stitch
R9) Chain 1, half double crochet 2 together around, slip stitch to first stitch.
Fasten off and sew top and bottom of ball closed, then weave in ends.
Thank you for reading Cherry and Crochet Designs, please comment if you have any issues or ideas for future patterns.